Tutorial 5: Introducing Robotics
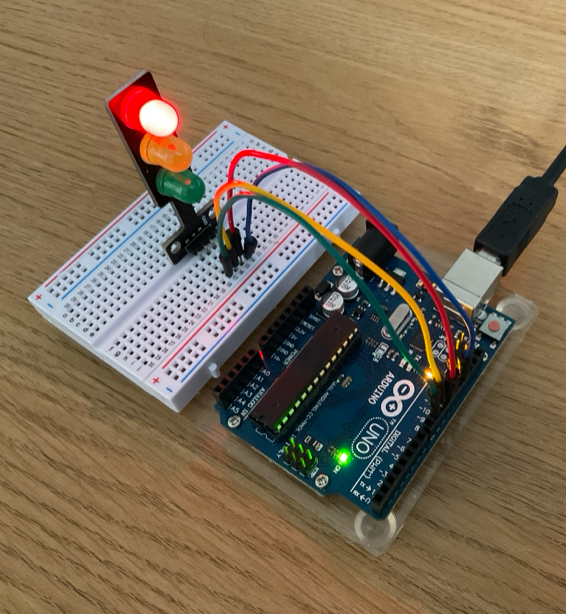
The term robotics is a generic term which doesn’t just mean a human like machine. It can refer to sensors, displays as well as motors. In general it is referring to micro-controller driven devices which can, of course, mean autonomous humanoid robots. There are a vast number of boards that can be used in robotics and many of them are great to get started with. The most popular by a very long way is the Arduino Uno R3 which was designed for that very purpose, it has very recently been superseded by the R4 version.
Which board?
There is a bewildering number of micro-controllers, almost too many to mention here but one stands out head and shoulders above all the others, the Arduino Uno. By this I mean the original R3 (which suggests it isn’t the first and there is now an R4). It is the one that everyone starts with, it is robust, easy to use and very, very popular. There are so many resources in terms of projects, books, videos, code, components and so on. This tutorial will be focussing on the Arduino Uno (R3).
You can buy different variants, even copies and clones of the board (it is open source). I would recommend getting their own brand but if you are on a tight budget you can go for someone else’s version (they are a lot cheaper).
Software?
Arduino have what is called an IDE. IDE stands for Integrated Development Environment. This is where you type in your code and then upload it to the Arduino Uno. There are two types, one where you can download the software and run it from your computer desktop or a cloud version that you can run from your browser.

Module A
Module A unit #1 hardware and software
To get started you need to consider what hardware and software you need. This is fairly straightforward. The board and other components you need are relatively cheap and readily available. The software is free depending on your machine (more on that in the PDF). In this unit we look at the parts of the Arduino Uno and explore the IDE (the software you will be using) and how to download or access it.


