Tutorial 7: The Internet of Things
The Internet of Things (IoT) is a powerful tool that can connect machines to achieve a particular function. This has a strong overlap with robotics and artificial intelligence. It often uses low power micro-controllers that can have a range of sensors and be able to control switches, lights, motors etc. They can be used in the home and even in cities often called smart homes/cities.
Hardware
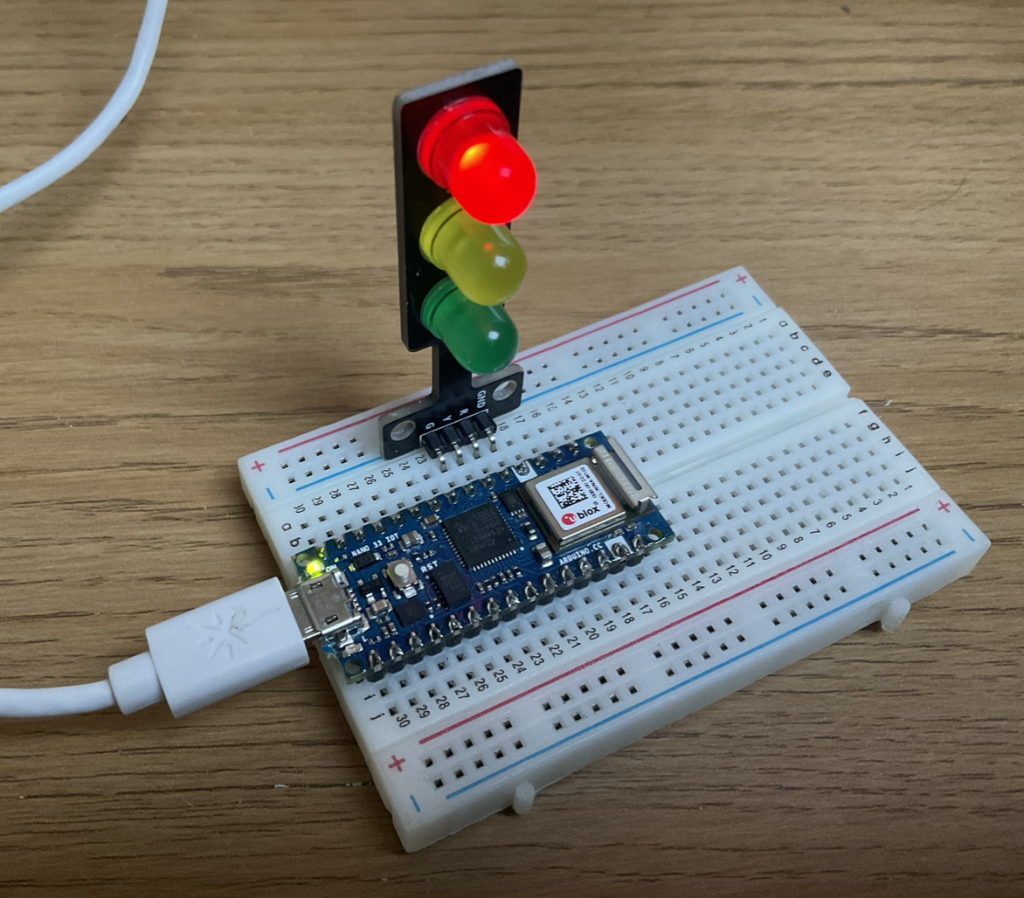
For the majority of this tutorial we will be using the Arduino Nano 33 IoT board. Other components you will need include:
- breadboard (half size)
- traffic lights LED (three coloured LED module)
- jumper wires (male-to-male)
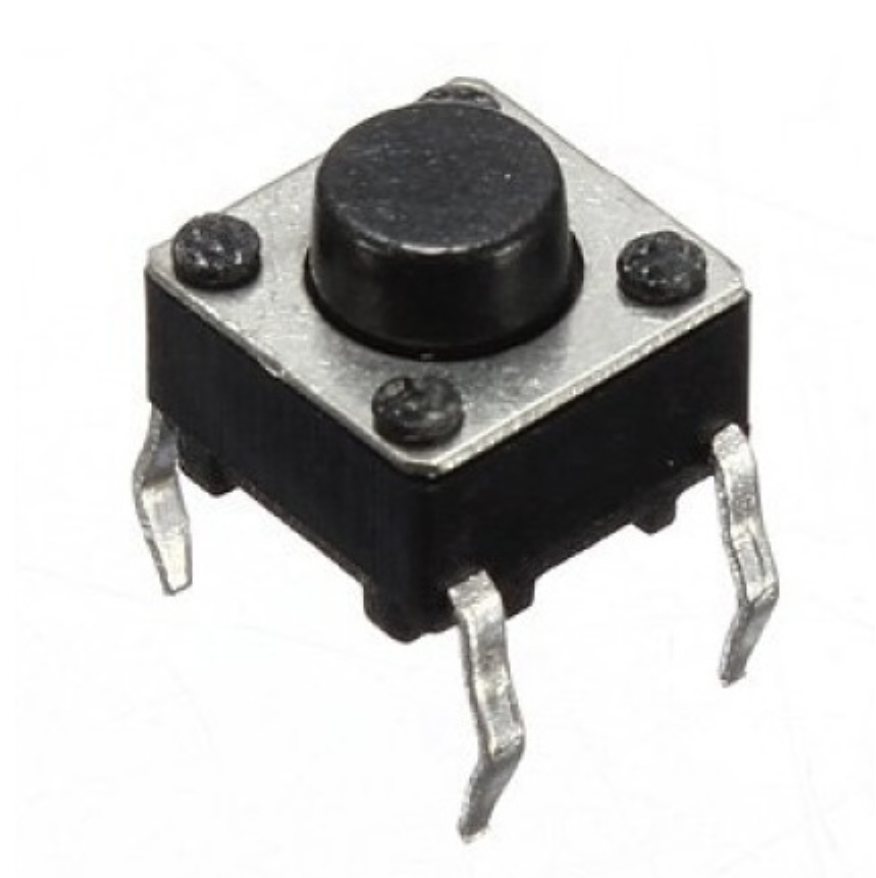
- button (tactile push button)
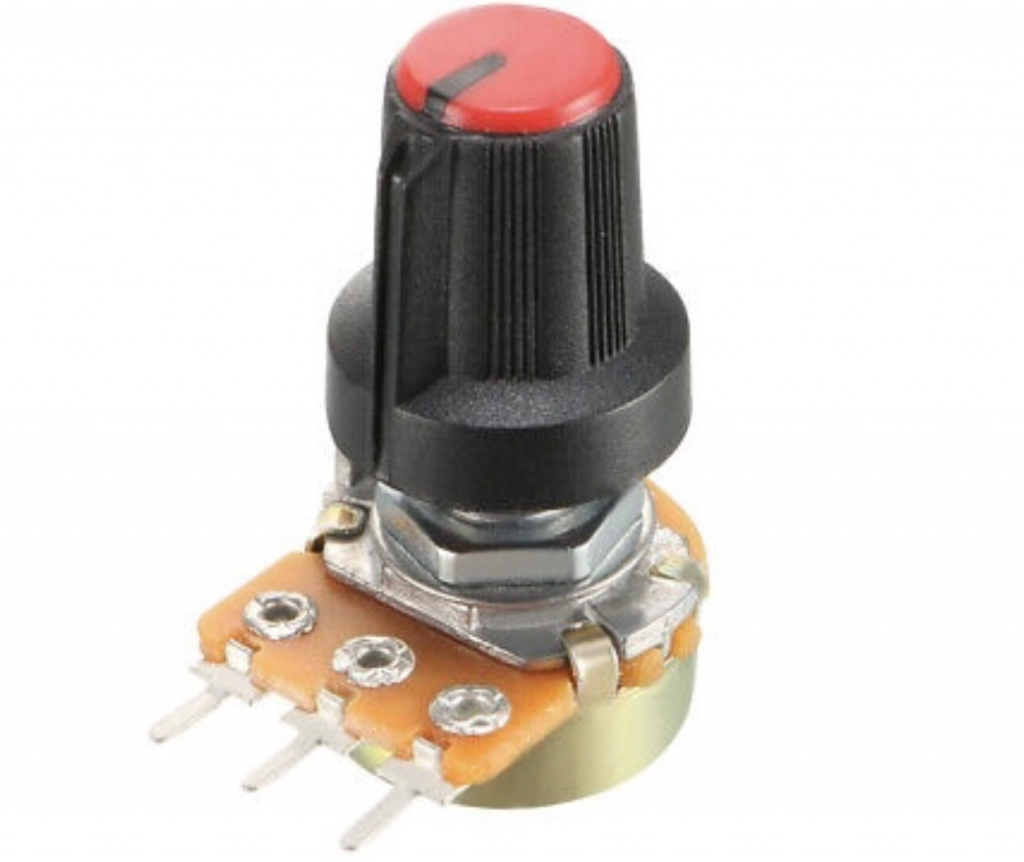
- pot (variable resistor)
Later on we may well introduce more components that you might find useful. You can use any computer for this, windows PC/laptop, linux PC/laptop or Mac/MacBook, Chromebook or even a Raspberry Pi.
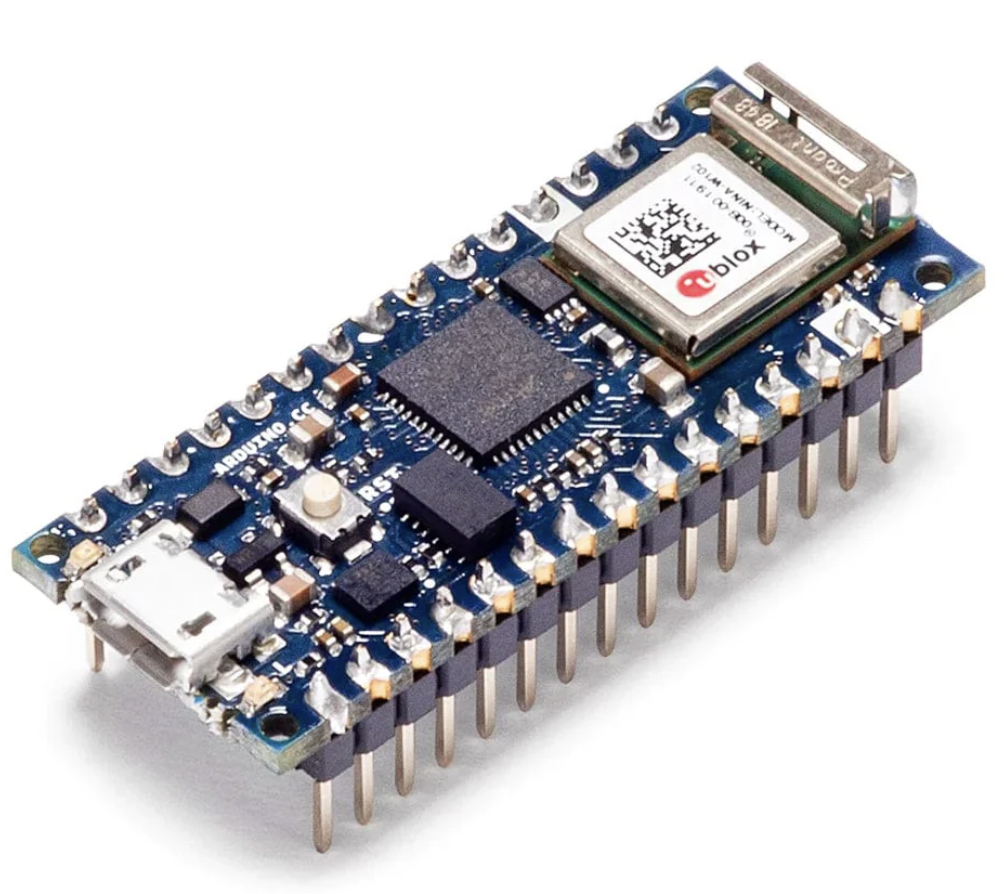
Arduino Nano 33 IoT
Software
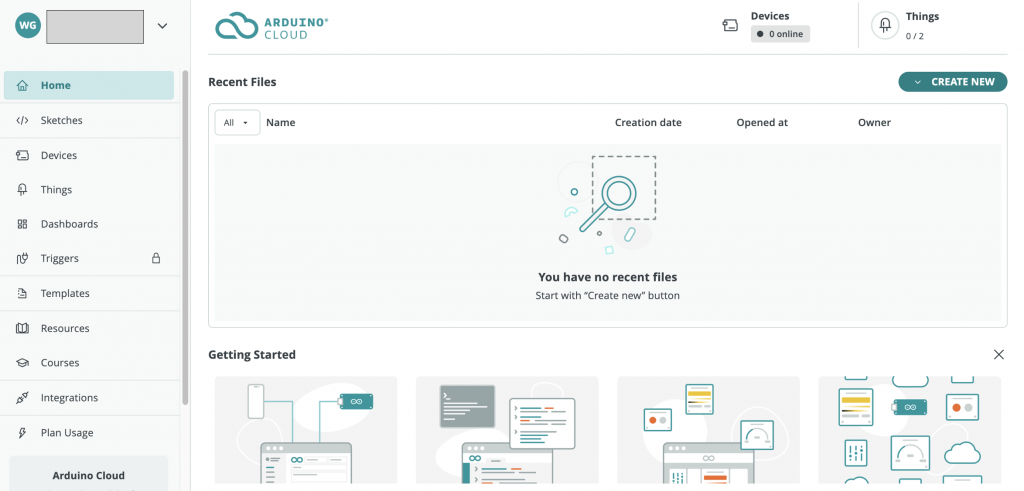
To develop your IoT projects, you will need to use the Arduino Cloud. Here, you can add devices, create things, and dashboards with lots of widgets. If this sounds like gobbledygook, then all will be made clear as you download the PDFs below and work through the tutorial. Some of the first modules are a repeat of the robotics tutorial, but I have included them in case you have jumped straight to this place.
You will need to sign up for an account. You will need to use the Chrome web browser (others may work, but some don’t). It goes without saying that you need Wi-Fi (the name and password) before you begin. If you have everything, you are ready to go.
Module A
Getting to know your Arduino Nano 33 IoT, covering the basics and exploring its potential using additional components: traffic light LEDs, button, pot, and the internal IMU.
Module B
Let’s start building the Internet of Things…
Once we have got to know our Arduino Nano 33 IoT board we can now start to use it for what it was designed for, the Internet of Things. we are going to build a variety of applications to give you some flavour of what you can do with it. Bear in mind that it takes a bit of practice to get to grips with the process, the more you practice the more intuitive it will become.
